症例1の解説(その3)からの続きです。症例1の解説(その3) | 英語好きな歯科医の診療日記 (hn-dentist-english-blog.com)
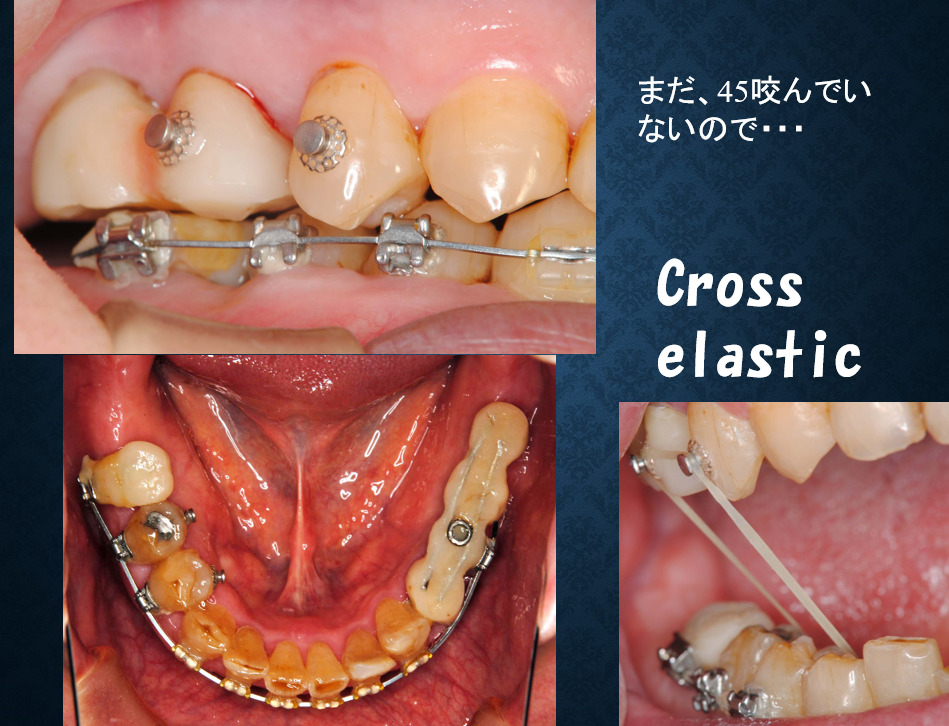
まだ十分に咬んでいないので顎間ゴムをかけたり・・・
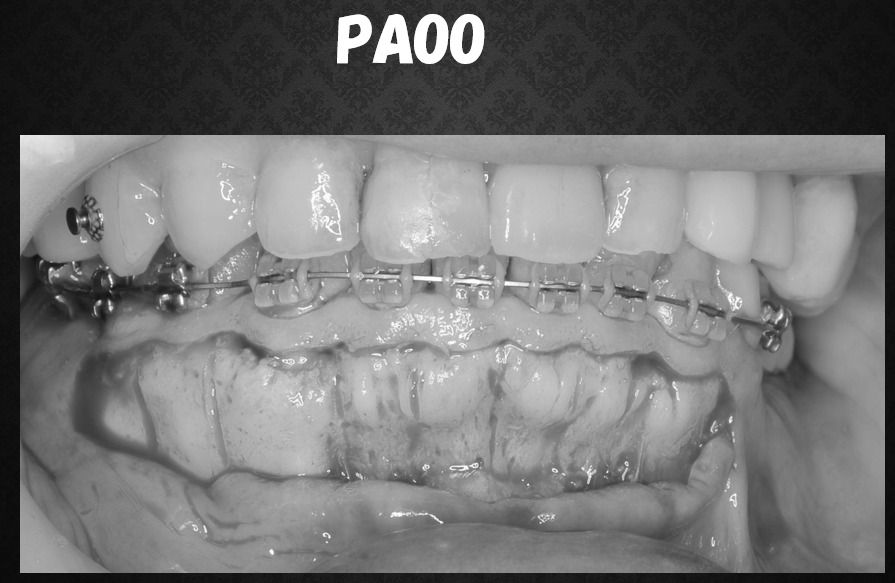
PAOO(periodontally accelerated osteogenic orthodontics)をして歯の移動のスピード化を促しました。
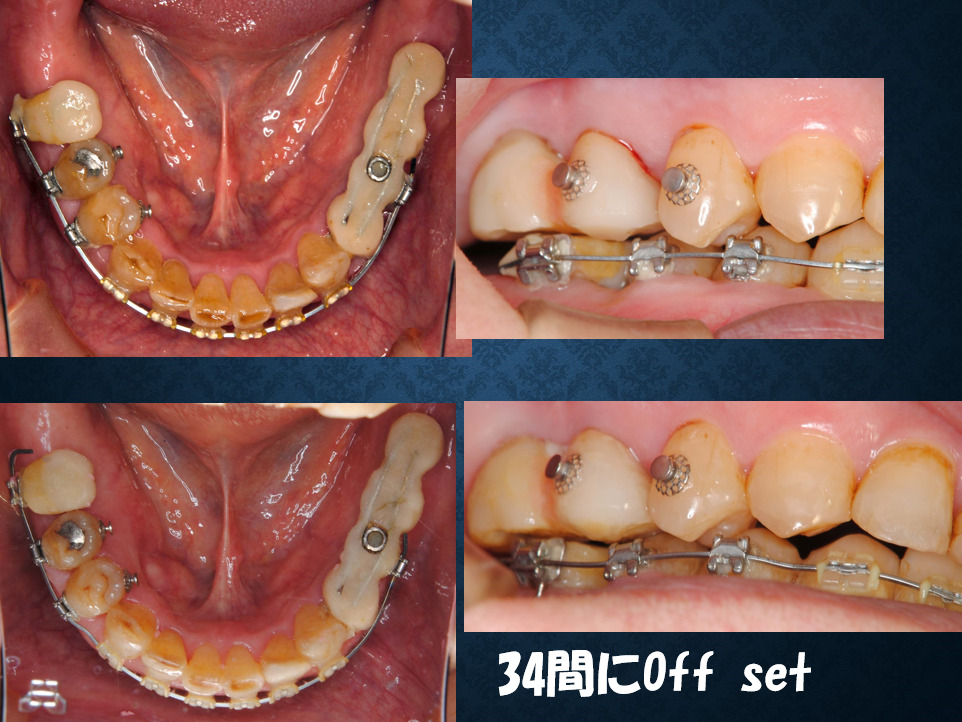
小臼歯を更に外側に移動させる処置をしました。
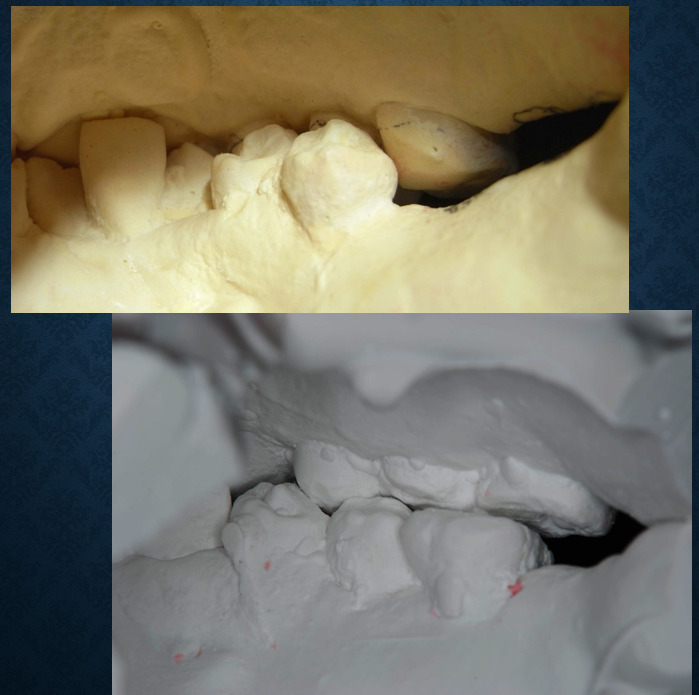
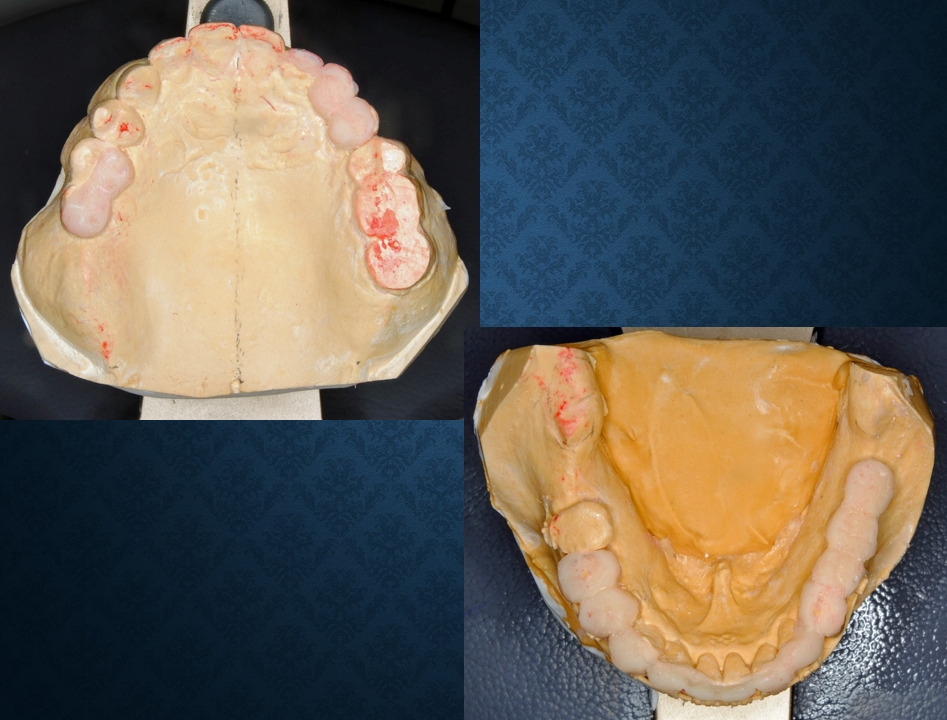
術前、術中の模型を後ろから見たところ。上下が咬み合ってきました。

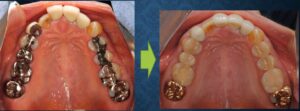
矯正のみで理想的に咬合させるのは困難と判断し補綴で解決することにしました。
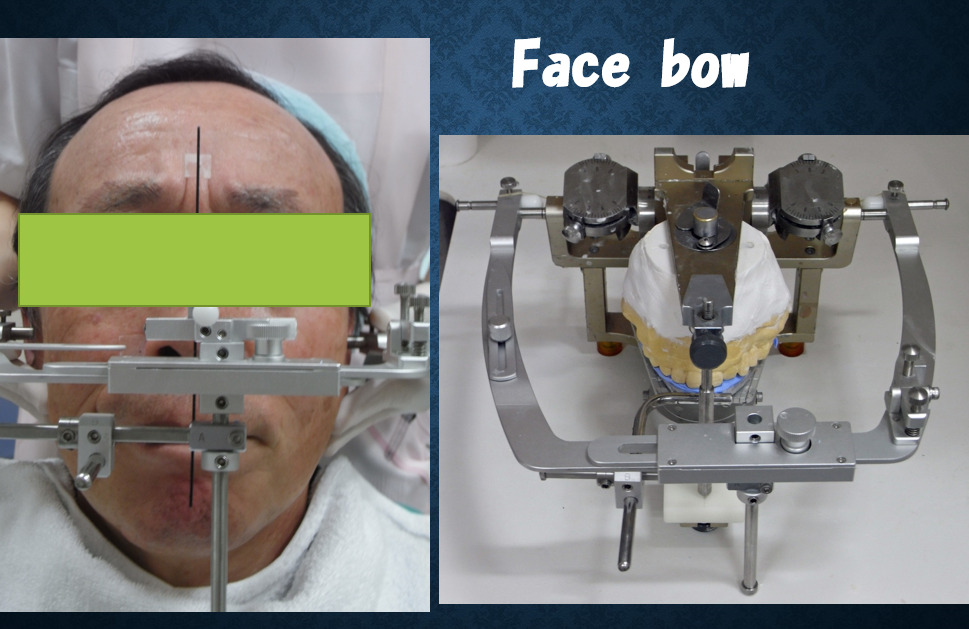
通常のフェイスボーでは咬合器へ情報が正確に反映されない事があるので阿部晴彦先生が開発されたものを使います。正中矢状面をトランスファーするという考え方です。
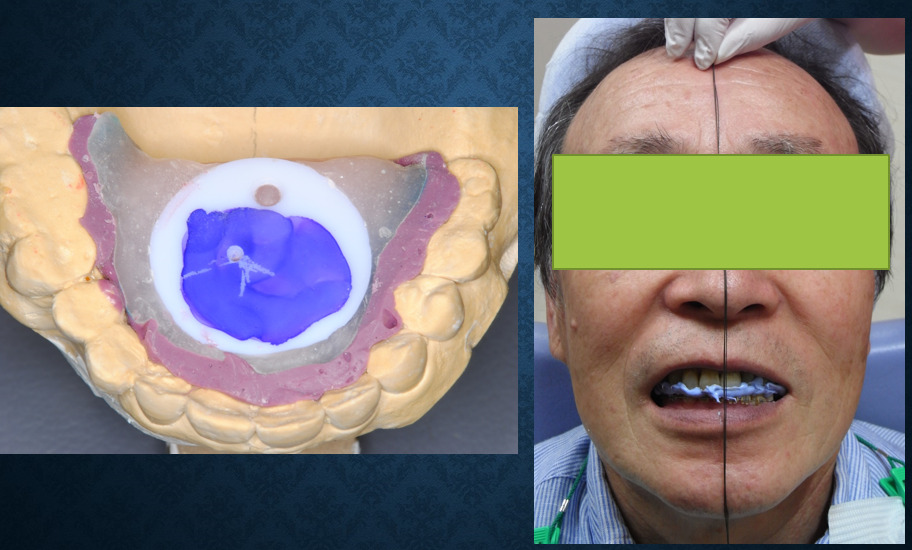
ゴシックアーチを描記させて、下顎が偏位していないことを確認し咬み合わせの記録を採取します。
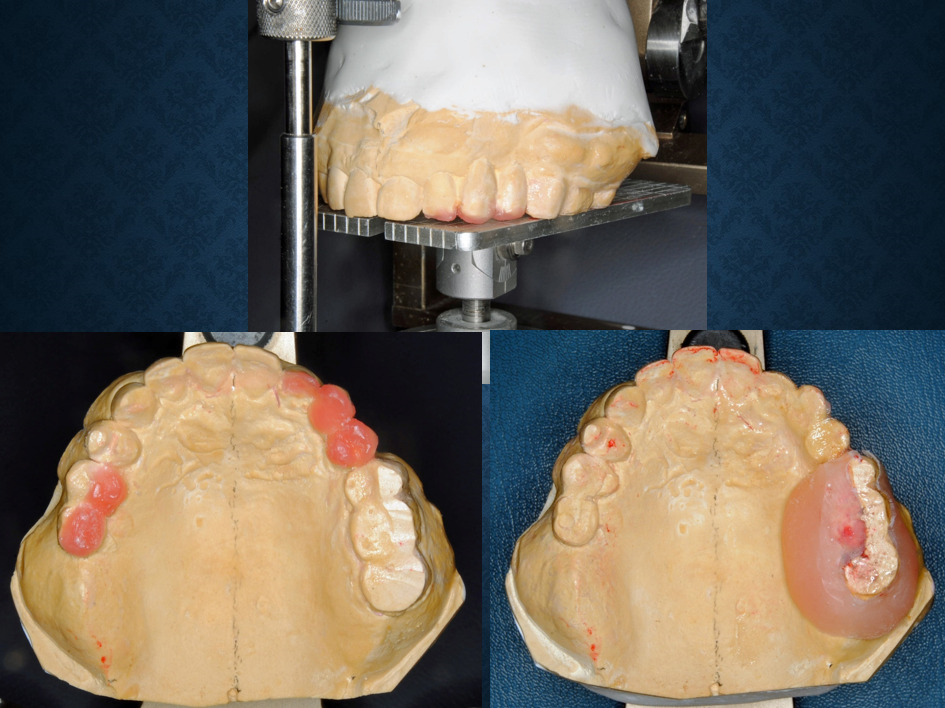
咬合平面を修正するための作業

下顎の貼物製作のためのパラフィンワックスでのワックスアップ
ワックスをレジンに置き換えます
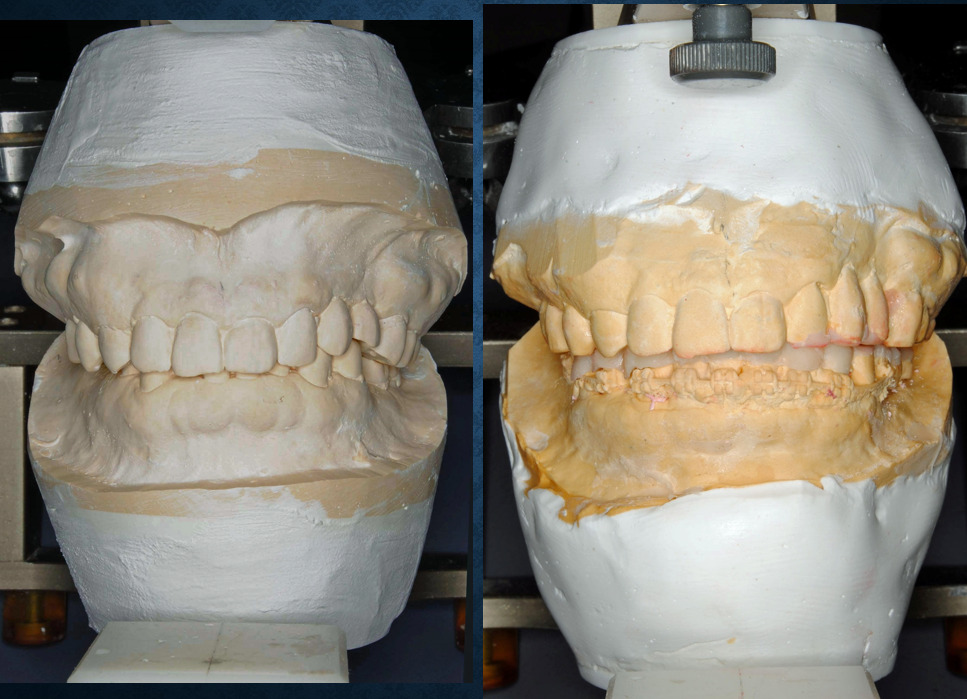
術前とレジンの貼物を置いた正面観
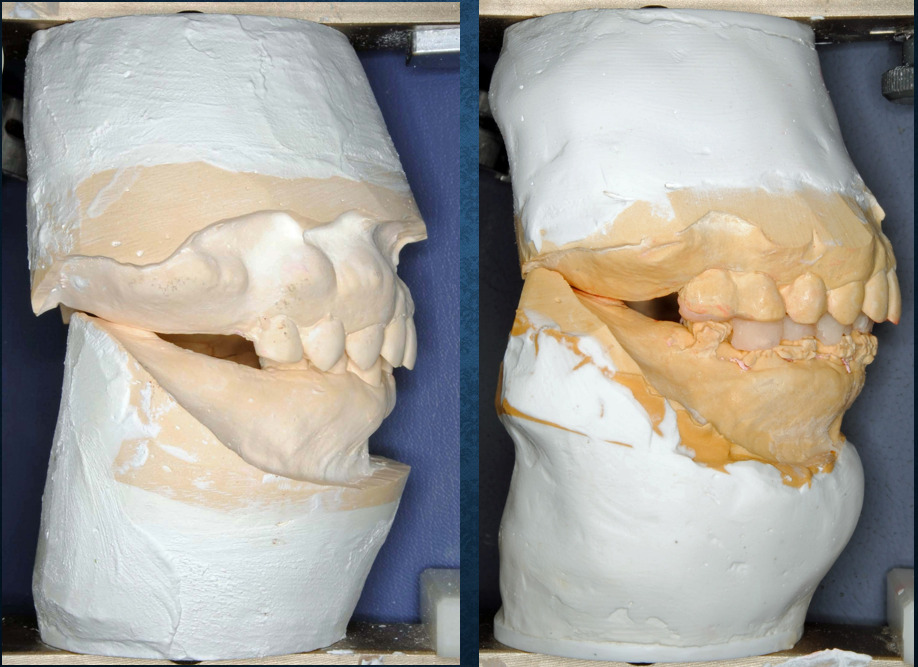
同じく右側面観
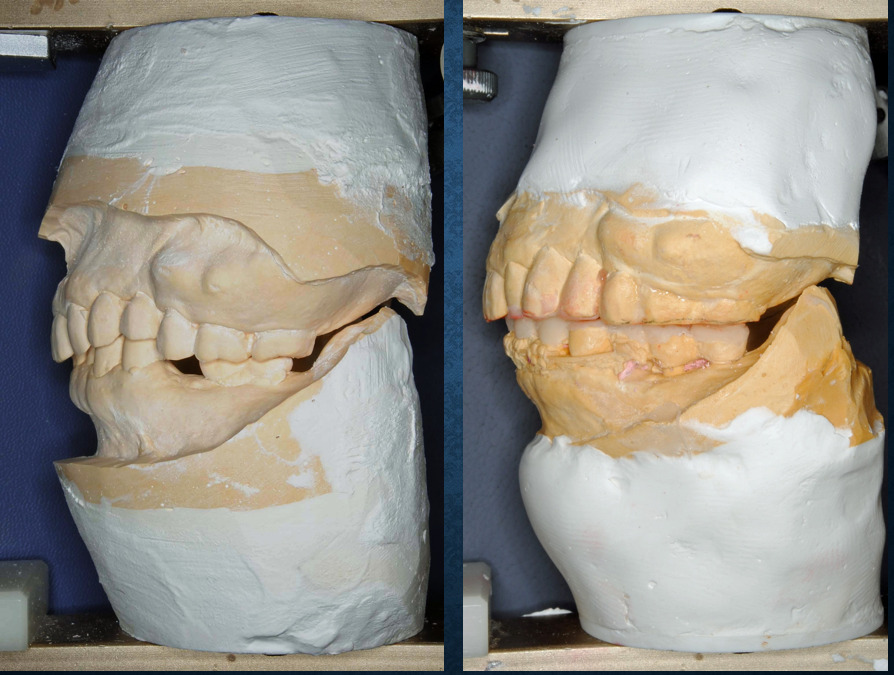
同じく左側面観。咬合平面が波打っていたのを修正します。
この続きは症例1の解説(その5)へ。症例1の解説(その5) | 英語好きな歯科医の診療日記 (hn-dentist-english-blog.com)


コメント