症例1の解説(その4)からの続きです。症例1の解説(その4) | 英語好きな歯科医の診療日記 (hn-dentist-english-blog.com)
![](https://hn-dentist-english-blog.com/wp-content/uploads/2021/12/44.jpg)
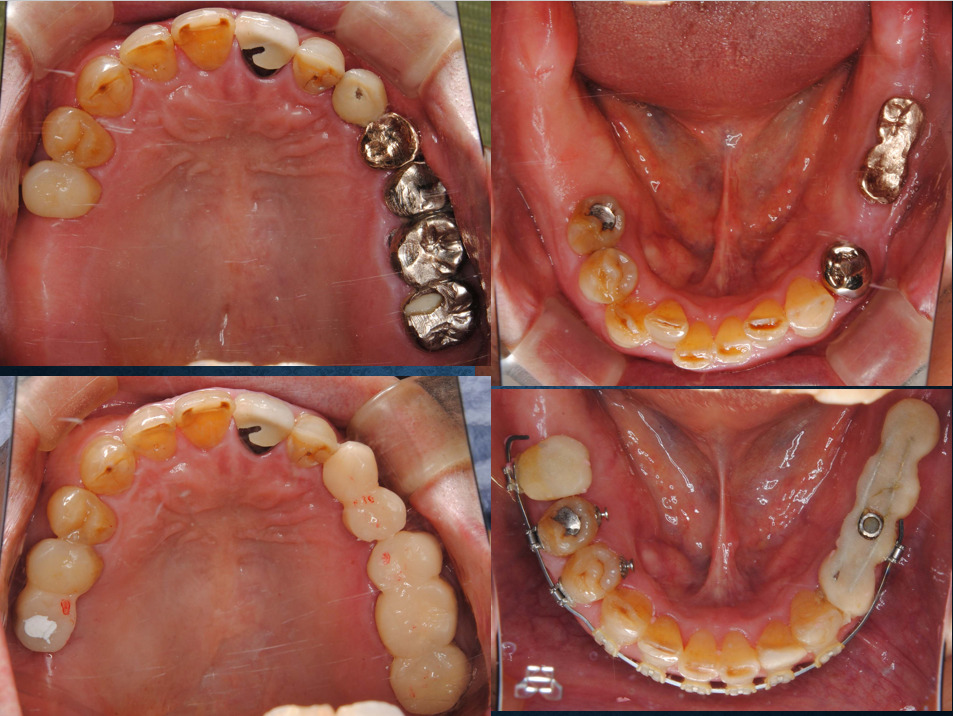
術前と術中(レジンの貼物をする前の状態)
![](https://hn-dentist-english-blog.com/wp-content/uploads/2021/12/45.jpg)
その4で示したレジンの貼物を接着しました
![](https://hn-dentist-english-blog.com/wp-content/uploads/2021/12/46.jpg)
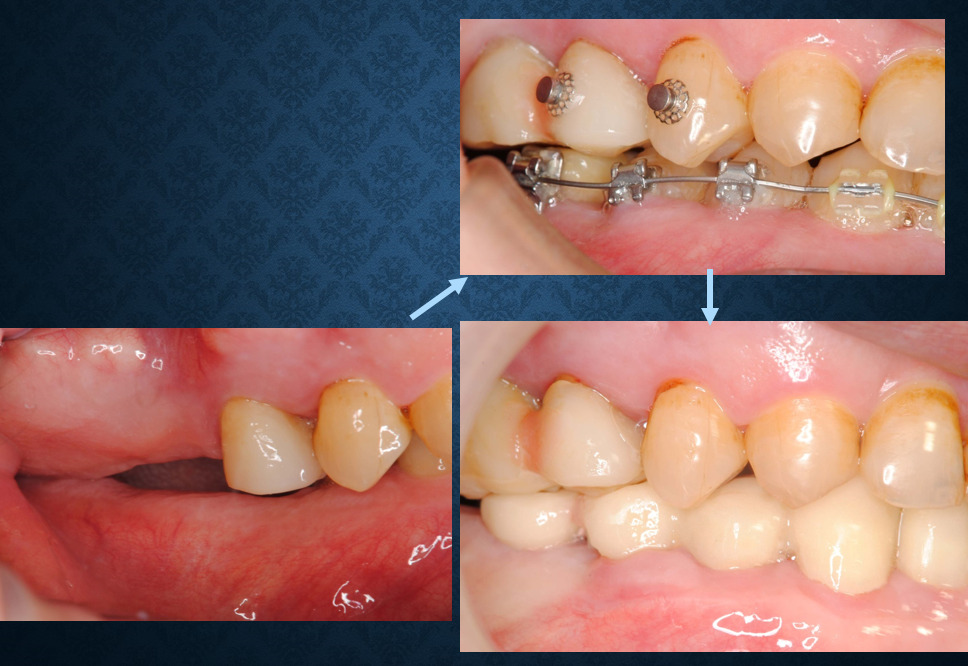
上は術前です。矯正装置を装着したままレジンの貼物を接着し・・・・
![](https://hn-dentist-english-blog.com/wp-content/uploads/2021/12/47.jpg)
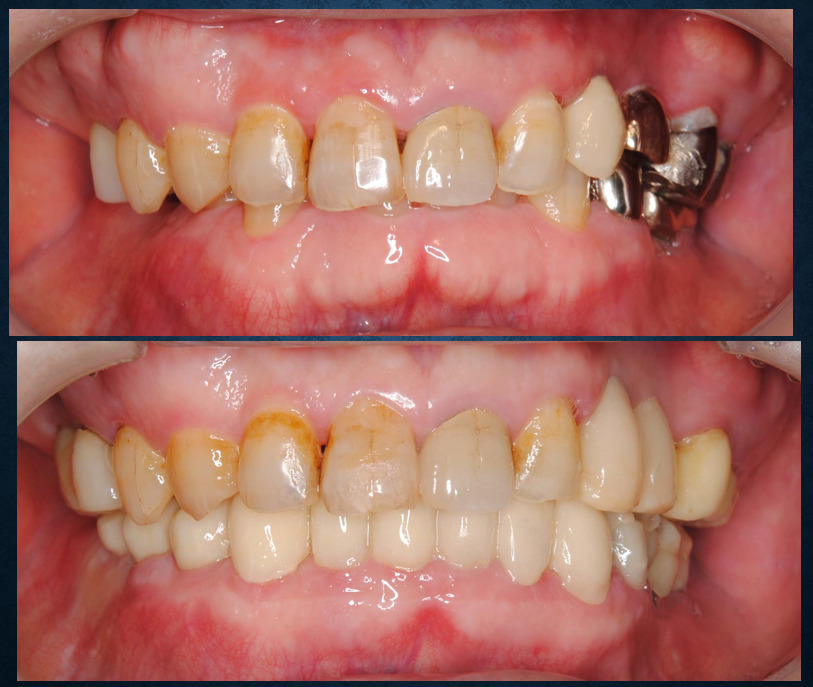
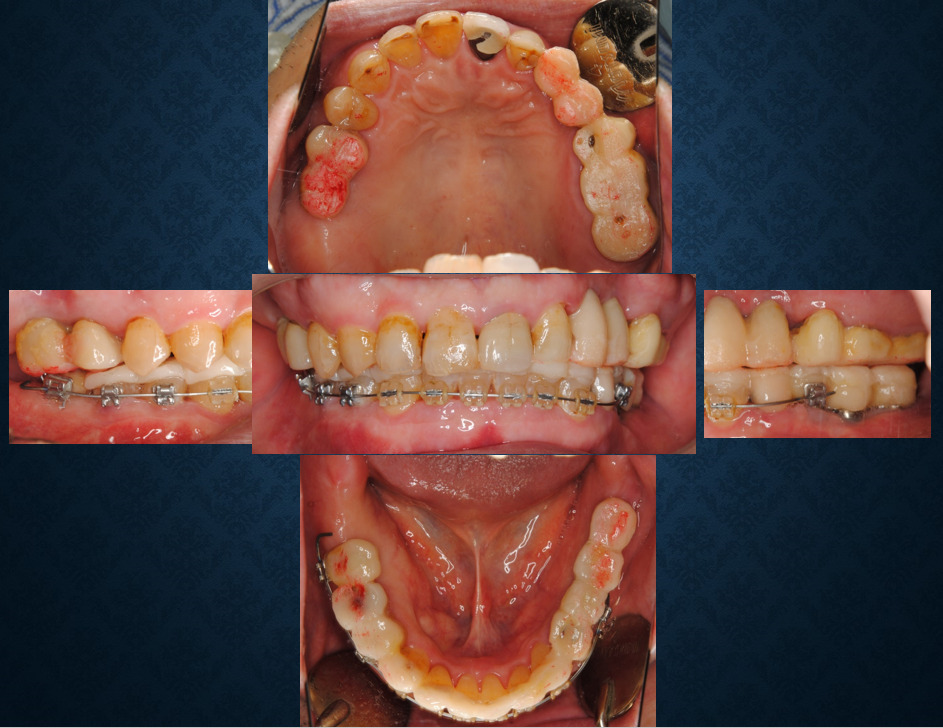
装置を外すと同時にフルカバーの仮歯に置き換えました。術前と比較し咬合挙上の程度がわかります。
![](https://hn-dentist-english-blog.com/wp-content/uploads/2021/12/48.jpg)
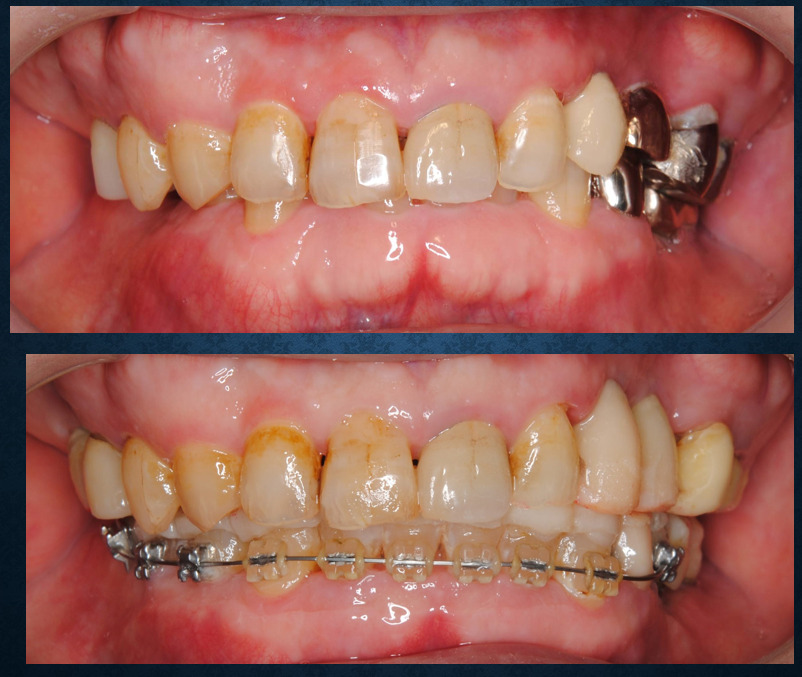
術前、矯正中、仮歯の状態です。上下が咬み合わさりました。
![](https://hn-dentist-english-blog.com/wp-content/uploads/2021/12/49.jpg)
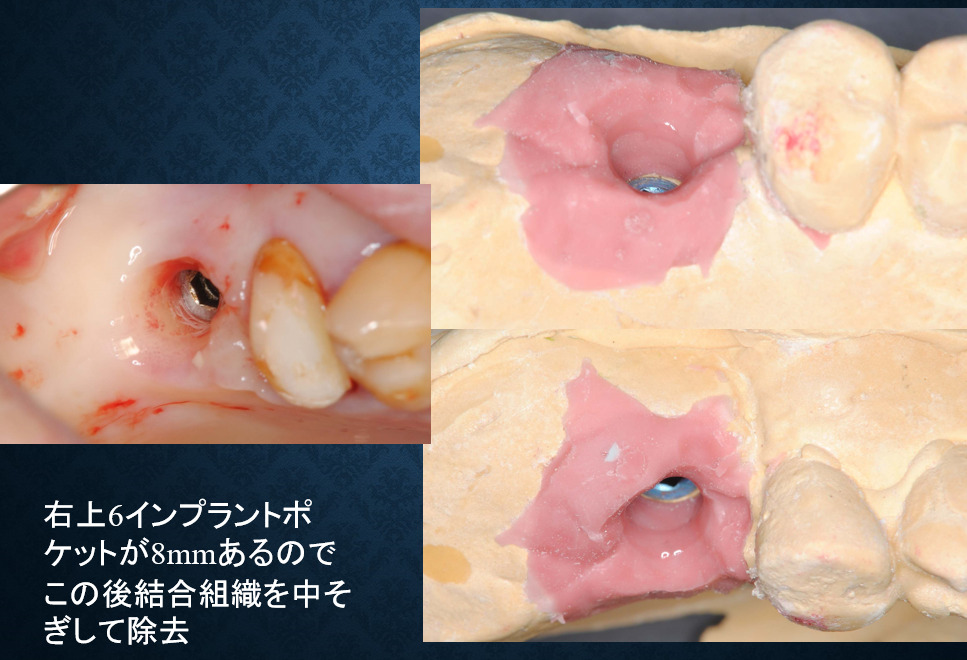
インプラント周囲炎を予防するための外科処置を行いました。
![](https://hn-dentist-english-blog.com/wp-content/uploads/2021/12/50.jpg)
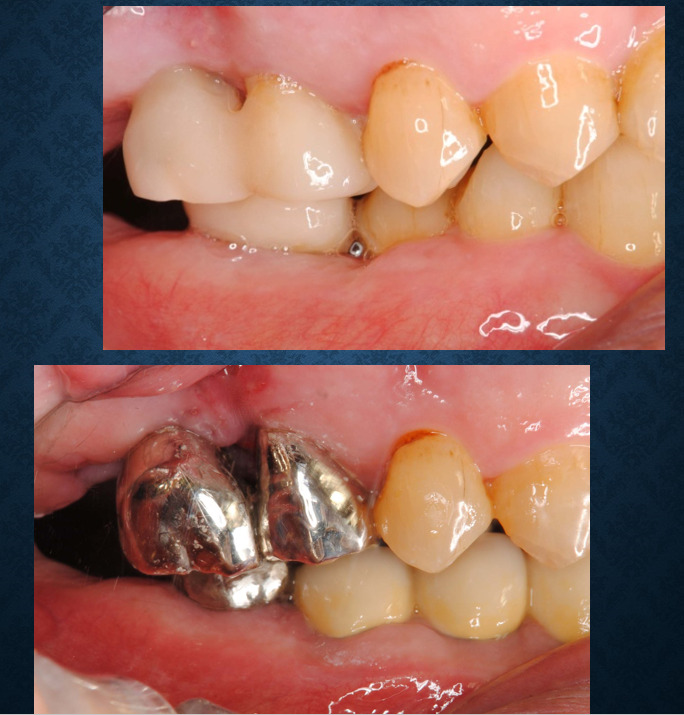
仮歯から最終補綴に置き換えました。保険が使えるところはなるべくそうして欲しい希望でメタルになっています。
![](https://hn-dentist-english-blog.com/wp-content/uploads/2021/12/51.jpg)
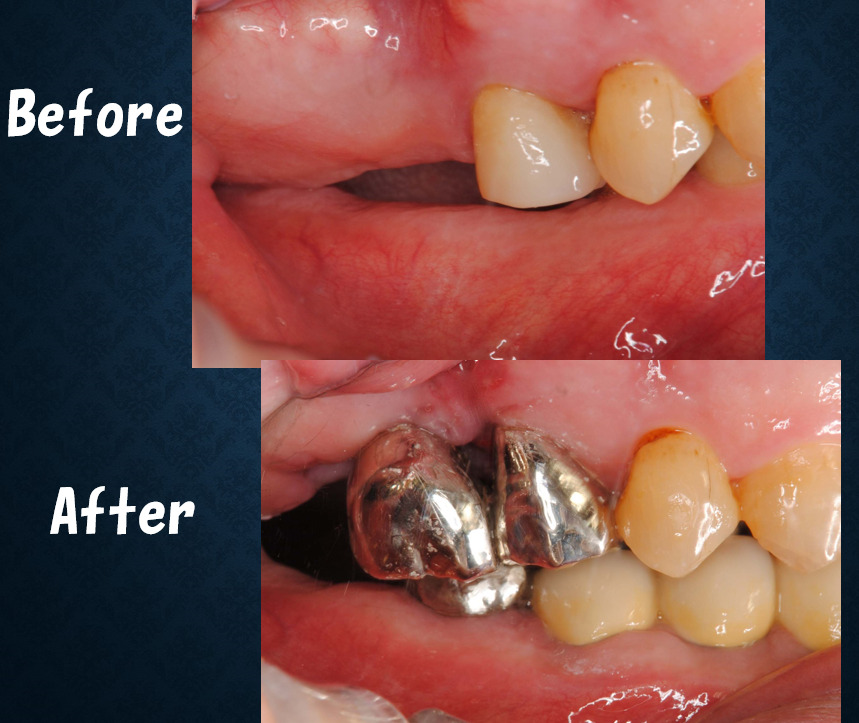
術前と術後。右側でも咬めるようになりました。
![](https://hn-dentist-english-blog.com/wp-content/uploads/2021/12/52.jpg)
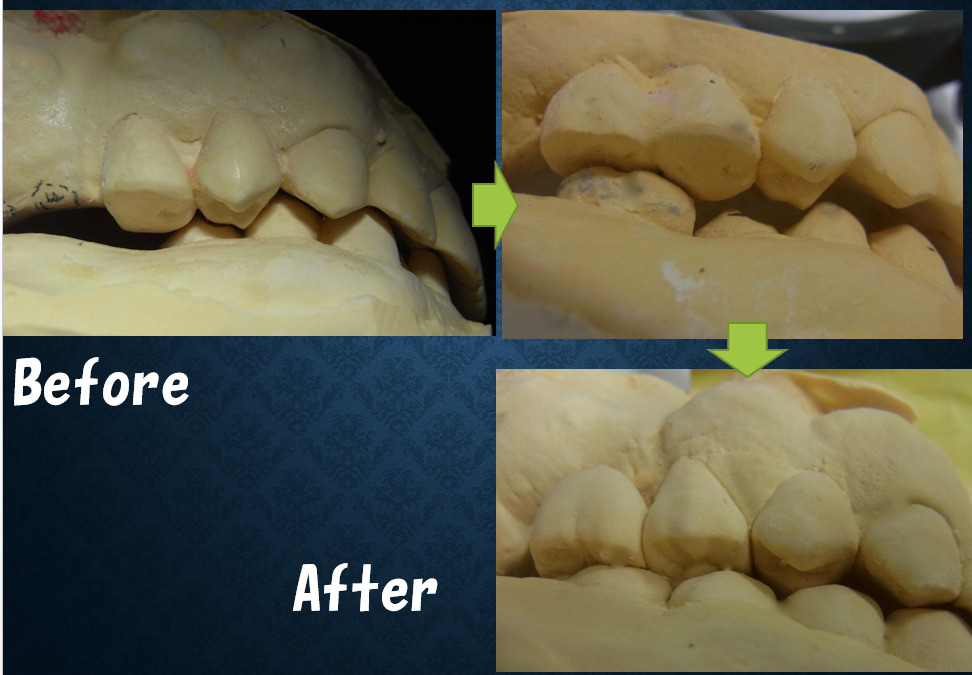
術前、術中、術後を下から見上げた状態です。上下の歯がすれ違っていたのを嵌合させました。
![](https://hn-dentist-english-blog.com/wp-content/uploads/2021/12/53.jpg)
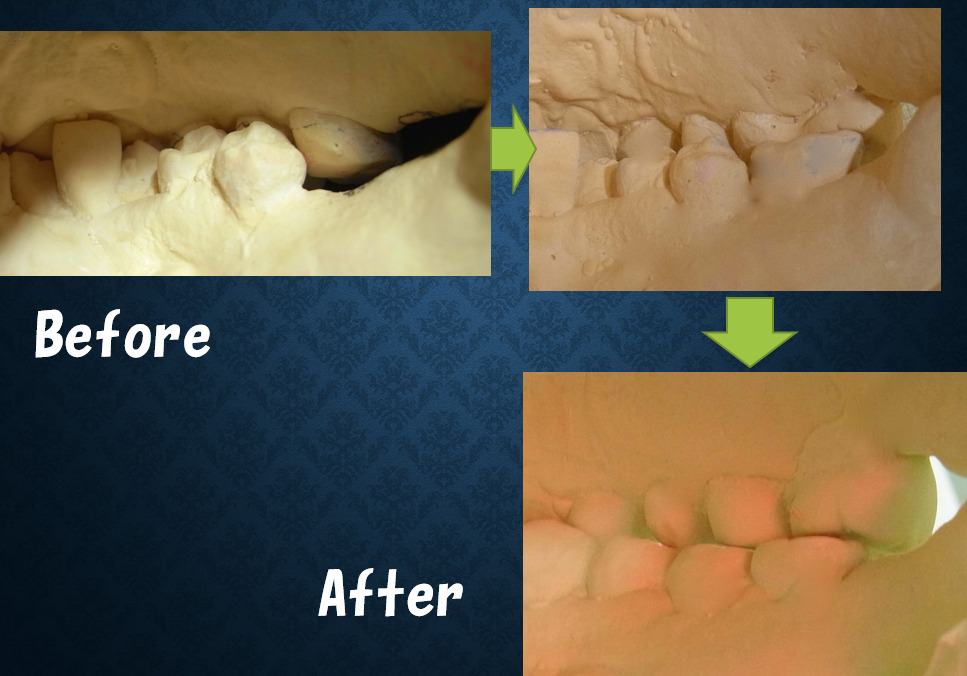
同じく後ろから覗いた状態です。 上下の歯がすれ違っていたのを嵌合させました。
この続きは症例1の解説(その6)へ。症例1の解説(その6) | 英語好きな歯科医の診療日記 (hn-dentist-english-blog.com)
コメント